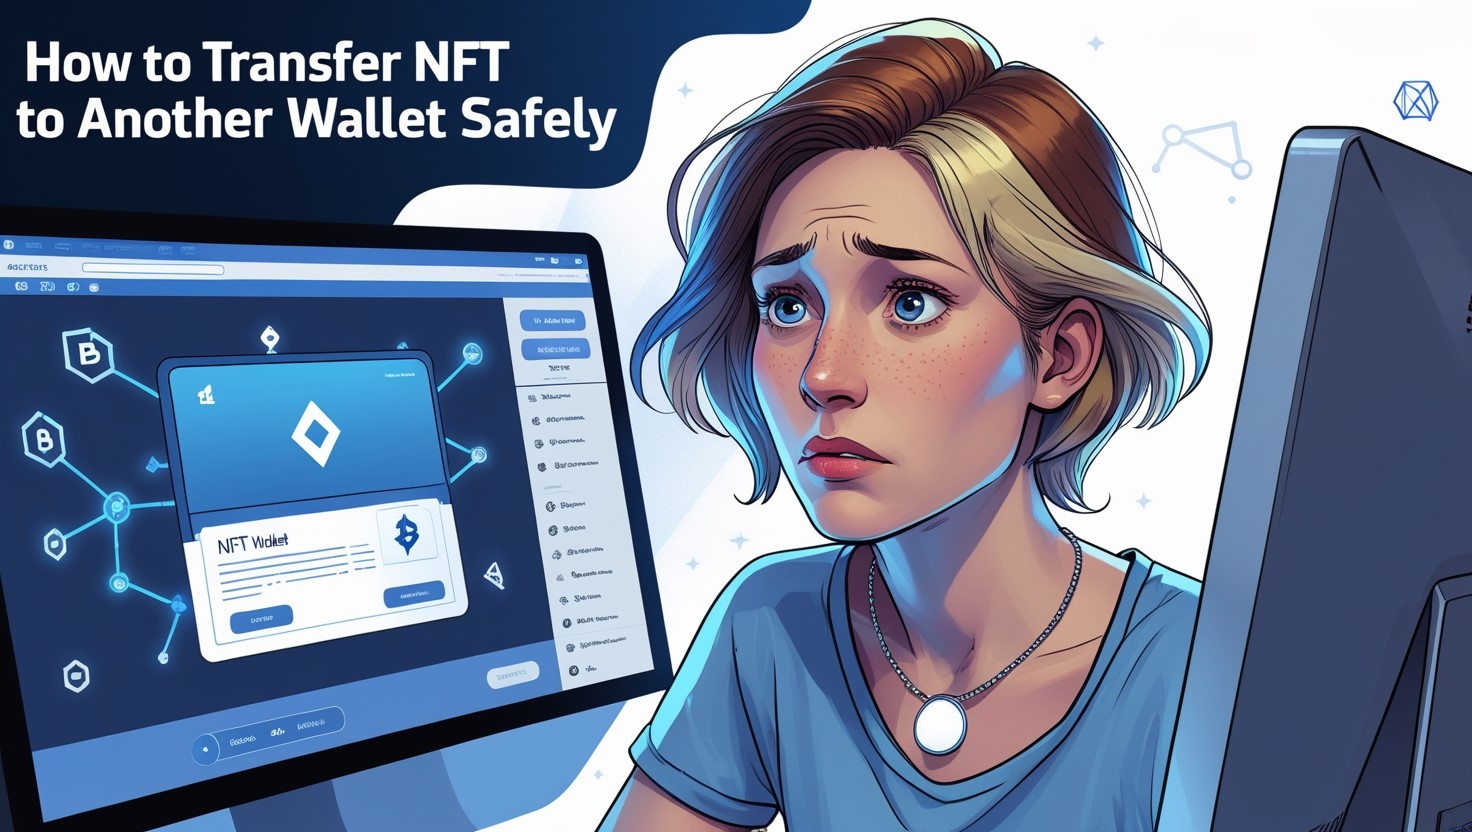
NFTs (non-fungible tokens) represent digital assets, such as game items, art, music, or collectibles, that exist on the blockchain. They are an asset just like cryptocurrency, and ensuring they are transferred safely from your wallet to another is of paramount importance.
NFTs hold real-world value and can be transferred to other wallets in case you need emergency funds or as a gift. Losing such a valuable asset during transfer due to a minor mistake can be disastrous for both you and the receiver.
Let’s help you with the process of safely transferring an NFT from your wallet to another one. We will also cover some real-life examples of wallets and marketplaces, in addition to the safety measures you can take to avoid any mistakes during the transfer.
What You Need Before Transferring an NFT
The first thing that you need is a correct recipient wallet address. Always double-check the recipient’s wallet address by using the copy-and-paste method. Providing an incorrect address means losing the NFT permanently.
Ensure that you check gas/transaction fees and have sufficient native tokens in your wallet to cover them. Depending on the blockchain, you will need:
- ETH for Ethereum
- SOL for Solana
- MATIC for Polygon
These fees vary depending on the network type and congestion.
Always confirm that the recipient’s wallet supports the blockchain on which your NFT is stored, as some wallets are chain-specific.
Verify the Blockchain as NFTs are chain-bound. You cannot send an Ethereum NFT to a Solana wallet. Always check which blockchain the NFT was minted on before initiating the transfer.
Make sure your connection is reliable to avoid incomplete or failed transactions. Do a small test transfer first to confirm the address and network are correct before sending high-value NFTs.
Step-by-Step Guide for Safe Transfer of NFTs
NFT transfer can be scary, as a single mistake in any step, from wallet address to blockchain compatibility issue, can lead to losing your digital asset forever. We have a detailed step-by-step guide below to help you transfer your NFTs safely across blockchains.
Step 1 – Access the Right Wallet or Marketplace
Before you transfer an NFT, you must log in to the platform where your NFT is currently stored. This could be a wallet app or an NFT marketplace.
In case of a wallet, make sure your wallet supports the blockchain your NFT is on. These wallets include:
- MetaMask: It is ideal for Ethereum and Polygon NFTs.
- Coinbase Wallet: It is best for Ethereum and other EVM-compatible chains.
- Phantom: It is best for Solana NFTs.
- Trust Wallet: It offers multi-chain support, including Ethereum, Solana, and Polygon.
If you’re using a hardware wallet, connect it to your preferred wallet interface for additional security.
However, if your NFT is stored on a marketplace, log in to your marketplace account. Various NFT marketplaces include:
- OpenSea: It supports Ethereum, Polygon, and Solana.
- Magic Eden: It is popular for Solana and Polygon NFTs.
- Rarible: It offers a multi-chain marketplace with wallet integration.
Step 2 – Select the NFT You Want to Transfer
To select the NFT you want to transfer, navigate to the NFTs or Assets tab in your wallet or marketplace. In wallets, NFTs are usually grouped by collection or token type.
On marketplaces, go to your Profile section and scroll through your owned items. If the NFT you want to transfer doesn’t appear automatically, you may need to manually import it. This can be done by using the contract address and token ID. It is very common in wallets.
Before you send the NFT to the recipient, verify the NFT’s identity by checking its metadata. This includes:
- Name and Description
- Token ID
- Contract Address
- Traits or Attributes
You can check metadata directly if the NFT is in your wallet. For the marketplace, click on the NFT and check its metadata. The metadata for the NFTs is often stored off-chain, so make sure the image or preview loads correctly and matches the description.
Step 3 – Enter the Recipient’s Wallet Address
Copy and paste the recipient’s wallet address directly. Don’t type the wallet address manually. Wallet addresses are long strings of letters and numbers, and even one incorrect character will send your NFT to the wrong destination.
Verify the address once more with the recipient through a direct message or email. Send a small test transaction first to the recipient’s wallet before the actual NFT transaction.
As Blockchain transactions are irreversible, once you hit the send button and the transaction is confirmed, there’s no way to retrieve the NFT if it went to the wrong wallet. There’s no customer support to reverse a mistaken transfer.
Step 4 – Confirm Gas Fees and Transaction Details
Gas fees aren’t fixed as they change based on network congestion: When many users are transacting at once, fees spike. Complex transactions, like transferring NFTs with smart contract logic, may cost more than normal transactions.
Due to these factors, always monitor live gas prices using tools like Etherscan’s Gas Tracker or Solana Explorer. You can try transferring your NFT during off-peak hours to save on fees.
Before you click the confirm button, double-check the recipient’s wallet address and ensure its compatibility. Confirm your NFT’s details and make sure you are on the right network. Calculate the estimated gas fee to see if it is within your budget.
Most wallets show a preview screen before you finale the NFT transaction. Take a moment to read everything carefully before proceeding.
Step 5 – Approve and Send the NFT
Once you’ve selected the NFT you want to transfer and entered the recipient’s wallet address, hit the send or transfer button. This action will trigger a pop-up asking you to approve the transaction.
Your wallet will ask you to review the transaction. This includes the recipient’s address, NFT details, and estimated gas fees.
Once you are done reviewing, you will need to sign the transaction using your wallet’s authentication method. This includes providing a password, a biometric, or a hardware key. Once signed, the transaction is submitted to the blockchain and cannot be reversed.
Once approved, the transaction will be added to the blockchain’s mempool and await confirmation. Typical confirmation times for Ethereum are 15 seconds to a few minutes. Solana usually takes under 30 seconds, and the confirmation time for Polygon is around 1 to 2 minutes.
You can monitor the transaction’s status via your wallet’s activity tab. You can also use a blockchain explorer, such as Etherscan or Polygonscan, to monitor the transaction’s status.
If the transaction is pending for too long, it may be due to low gas fees. Some wallets allow you to speed up the process by increasing the fee. Once confirmed, your NFT will appear in the recipient’s wallet.
NFT Transfer Examples
To understand the process completely, we have included two examples of NFT transfers: one from the wallet and one from the marketplace.
Sending NFTs Using MetaMask
- Open the MetaMask extension on your browser or the MetaMask mobile app. Enter your password or use biometric authentication to access your MetaMask wallet.
- Navigate to the NFTs tab on mobile or the assets section on the browser extension. Select the NFT you want to transfer. If the desired NFT doesn’t appear, you may need to manually import it using the contract address and token ID.
- Tap the send button associated with the NFT. A new pop-up screen will ask you to enter the recipient’s wallet address.
- Copy and paste the recipient’s address carefully. Make sure to never type it manually. Double-check the address with the recipient to avoid irreversible mistakes.
- MetaMask will display the estimated gas fee based on current network conditions. Make sure you have enough ETH (for Ethereum) or MATIC (for Polygon) in your wallet to cover the fee. You can choose between low, medium, or high priority to adjust speed and cost.
- Review all details, including the NFT’s name & ID, the recipient’s address, and the gas fee. Once reviewed, click the confirm button to sign and submit the transaction.
- Head to the activity tab in MetaMask to monitor the transaction. You will see it marked as pending at first. Then it will be confirmed once it’s processed. For more details, click the transaction to view it on Etherscan or Polygonscan.
Once confirmed, the NFT will be transferred to the recipient’s wallet.
Sending NFTs Using OpenSea
- Visit OpenSea.io and click connect wallet in the top-right corner. Choose your wallet and approve the connection in your wallet pop-up.
- Click your profile icon and select collected from the dropdown. This will show all NFTs currently owned by your connected wallet.
- Click on the NFT you want to send. On the NFT’s detail page, click the paper plane icon labeled transfer. A pop-up will appear asking for the recipient’s wallet address.
- Copy and paste the recipient’s address carefully. Double-check every character as the mistakes are irreversible on the blockchain. OpenSea does not verify wallet addresses, so accuracy is entirely up to you.
- After entering the address, click transfer. Your wallet will ask you to approve the transaction and pay the gas fee. Confirm the transaction and sign it.
- You can view the transaction status under your wallet’s activity tab. For more in-depth tracking, you can use a blockchain explorer such as Etherscan or Polygonscan.
OpenSea is great for beginners because of its clean interface with intuitive icons. It offers multi-chain support with no coding or technical setup required. It also has a built-in wallet integration for easy approvals.
How to Receive and Confirm an NFT
- Open your wallet and navigate to the NFTs, collectibles, or assets tab. Look for the newly received NFT, as most wallets auto-populate it if the contract is recognized. If the NFT doesn’t appear automatically, you will need to manually import it using the contract address and token ID.
- Go to OpenSea.io and connect your wallet. Click your profile icon and view the collected tab. Your NFT should be listed there if it’s on Ethereum, Polygon, or Solana. OpenSea is especially helpful for visual confirmation and metadata display, making it beginner-friendly.
- Visit a blockchain explorer and paste your wallet address into the search bar. Click on the ERC-721 transfers or NFT transfers tab to view recent NFT activity. Confirm the NFT contract address, token ID, timestamp of transfer, and sender’s wallet address.
- On OpenSea, click the NFT’s contract address. Make sure it matches the official contract of the collection. Also, check the verified badge and creator details for further confirmation. This will help you to avoid scams or counterfeit NFTs. Once confirmed, the NFT is officially yours.
Best Practices for Safe NFT Transfers
Below are some essential best practices you can implement for safe and smooth NFT transactions.
Always Double-Check Wallet Addresses
Before sending an NFT, copy and paste the recipient’s wallet address. Never type the address manually, as addresses are complex and can result in an irreversible mistake. Even one incorrect character in the address field can send your NFT to the wrong wallet. As blockchain transactions are irreversible, you will permanently lose your NFT. Verify the wallet address through a trusted channel or try to send a small test transaction first.
Use Hardware Wallets for Valuable NFTs
Hardware wallets like Ledger or Trezor store your private keys offline. This makes them far less vulnerable to hacks or malware. If you have a high-value NFT, a hardware wallet is one of the most secure ways to manage it. You can connect your hardware wallets to platforms like MetaMask for added flexibility and convenience.
Beware of Phishing Links and Fake Platforms
Only interact with official wallet apps and verified NFT marketplaces. Avoid clicking on suspicious-looking links, especially those that promise free NFTs. Check URLs carefully, as scammers often use domains that closely match the original ones.
Avoid Peak Gas Times to Reduce Fees
Gas fees usually increase during high network activity, such as NFT drops. Try to transfer your NFTs during off-peak hours to minimize gas fees. Make sure to use gas trackers to monitor real-time prices.
Verify NFT Metadata and Contract Authenticity
Before transferring or receiving an NFT, confirm its legitimacy by verifying the contract address on platforms like OpenSea. Check verified badges and compare token IDs to avoid counterfeit NFTs.
Monitor Transactions with Blockchain Explorers
After sending or receiving an NFT, use tools like Etherscan or Polygonscan to track the transaction. These platforms show confirmation status, gas fees, and token details for peace of mind.
What Happens If I Send an NFT to the Wrong Wallet?
Once an NFT is sent and confirmed on the blockchain, there’s no undo button. Unlike traditional banking, there’s no customer support to reverse the transaction. The Only Way to recover your NFT is if the recipient voluntarily returns it.
If you know the person and they’re trustworthy, you can reach out and ask them to return the NFT. If it went to a random or inactive wallet, the NFT is lost forever.
Follow the triple check policy. Copy and paste the address, verify every character, and confirm the address with the recipient through a personal message or email.
For high-value NFTs, consider sending a small token or low-value NFT first to the recipient’s wallet address to confirm if the address works.
Always stick to reputable wallets and marketplaces that clearly display transaction previews. Never transfer your NFTs through unfamiliar interfaces or links.
With these precautions, you can ensure a smooth NFT transfer and avoid losing your digital assets.
Learn More About NFTs and Crypto in a Fun Way With Dypto Crypto
The world of NFTs is vast and mesmerizing, and you can learn more about it by joining Dypto-Crypto. With a free sign-up, you can access our resources section with a plethora of blogs containing crypto and web3 knowledge.
You will also receive a free weekly newsletter upon signing up to satisfy your technology cravings. We also offer paid courses curated by industry leaders to help you skill up and engage in exciting community discussions. What are you waiting for?
FAQs (Frequently Asked Questions)
Q: Can I transfer NFT without gas fees?
A: No. All major platforms charge gas fees for NFT transfers. However, you can use lazy minting on OpenSea, where the buyer pays the gas fees.
Q: How long does it take to transfer an NFT?
A: It usually takes from 15 seconds to 2 minutes to transfer an NFT, depending on the platform you are using.
Q: Can I transfer multiple NFTs at once?
A: Yes, you can transfer multiple NFTs at once by using batch transfer tools. However, it depends on the blockchain you are using.
Q: Can I transfer NFTs between different blockchains?
A: Not directly. To transfer NFTs between different blockchains, you will need bridging protocols, such as Wormhole or Polygon Bridge.
Q: How can I confirm my NFT was successfully transferred?
A: By checking your wallet’s activity tab or by checking the collected tab on the OpenSea profile.


